Install on macOS
To use Vapor on macOS, you will need Swift 5.9 or greater. Swift and all of its dependencies come bundled with Xcode.
Install Xcode
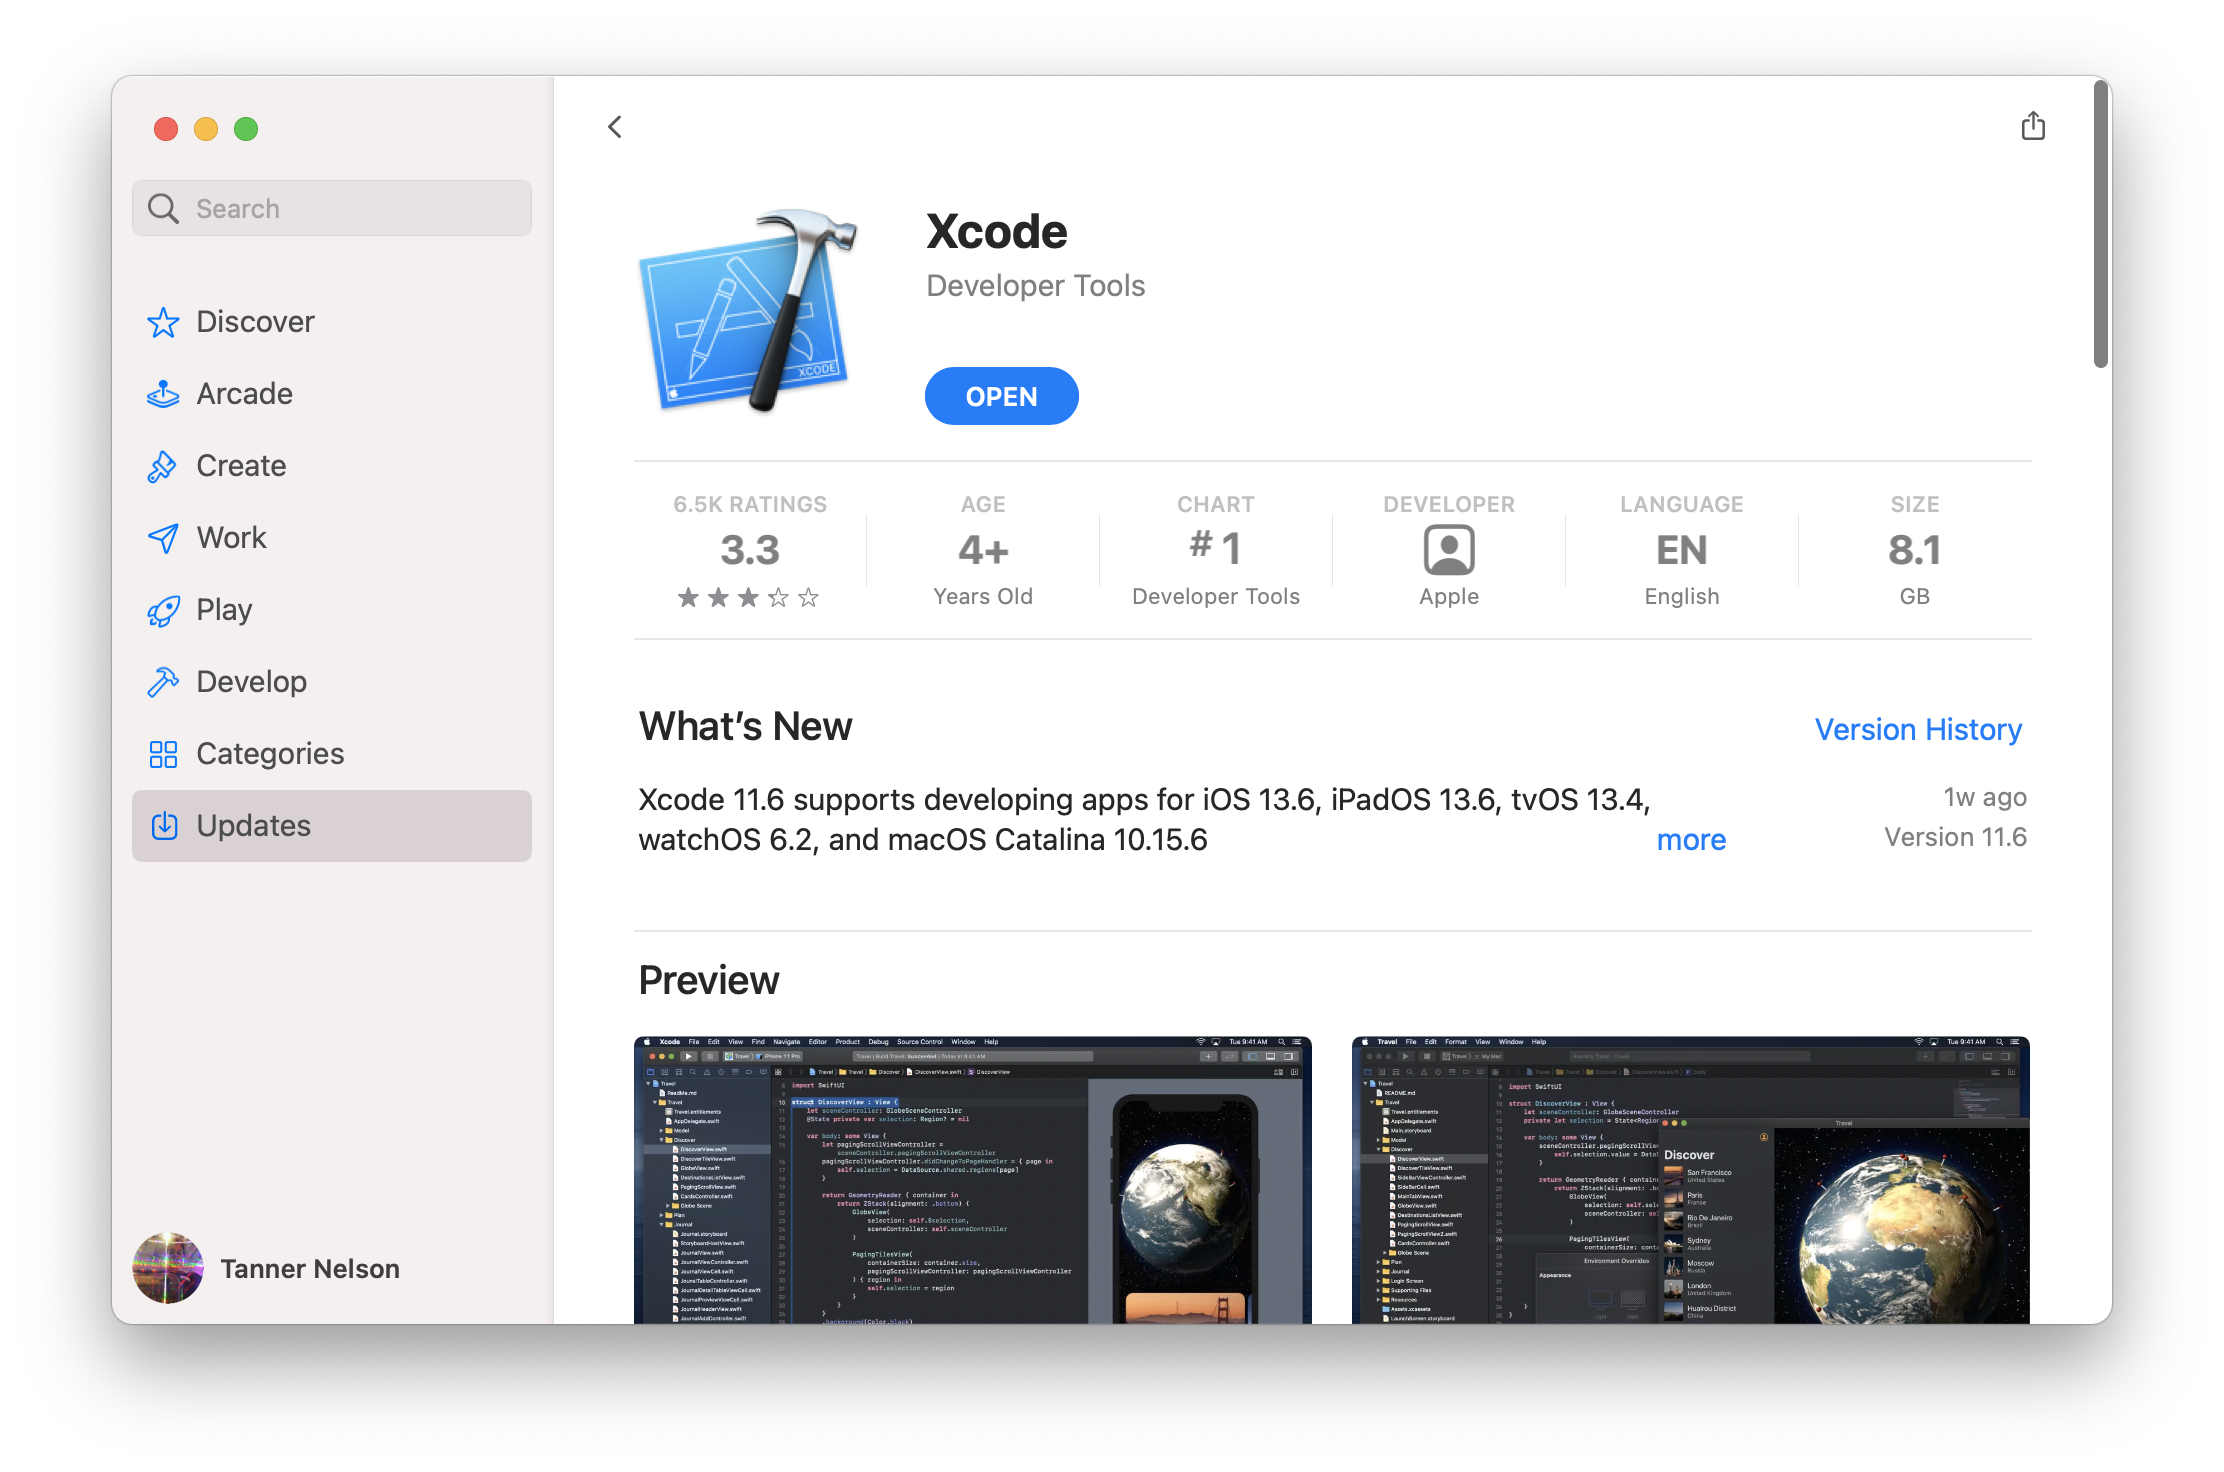
Install Xcode from the Mac App Store.

After Xcode has been downloaded, you must open it to complete the installation. This may take a while.
Double check to ensure that the installation was successful by opening the Terminal and printing the Swift's version.
swift --version
You should see Swift's version information printed.
swift-driver version: 1.75.2 Apple Swift version 5.8 (swiftlang-5.8.0.124.2 clang-1403.0.22.11.100)
Target: arm64-apple-macosx13.0
Vapor 4 requires Swift 5.9 or greater.
Install Toolbox
Now that you have Swift installed, let's install the Vapor Toolbox. This CLI tool is not required to use Vapor, but it helps to create new Vapor projects.
Homebrew
The Toolbox is distributed via Homebrew. If you do not have Homebrew yet, visit brew.sh for install instructions.
brew install vapor
Double check to ensure that the installation was successful by printing help.
vapor --help
You should see a list of available commands.
Makefile
If you want, you can also build the Toolbox from source. View the Toolbox's releases on GitHub to find the latest version.
git clone https://github.com/vapor/toolbox.git
cd toolbox
git checkout <desired version>
make install
Double check the installation was successful by printing help.
vapor --help
You should see a list of available commands.
Next
Now that you have installed Swift and Vapor Toolbox, create your first app in Getting Started → Hello, world.