Deploying to DigitalOcean#
This guide will walk you through deploying a simple Hello, world Vapor application to a Droplet. To follow this guide, you must have a DigitalOcean account with billing configured.
Create Server#
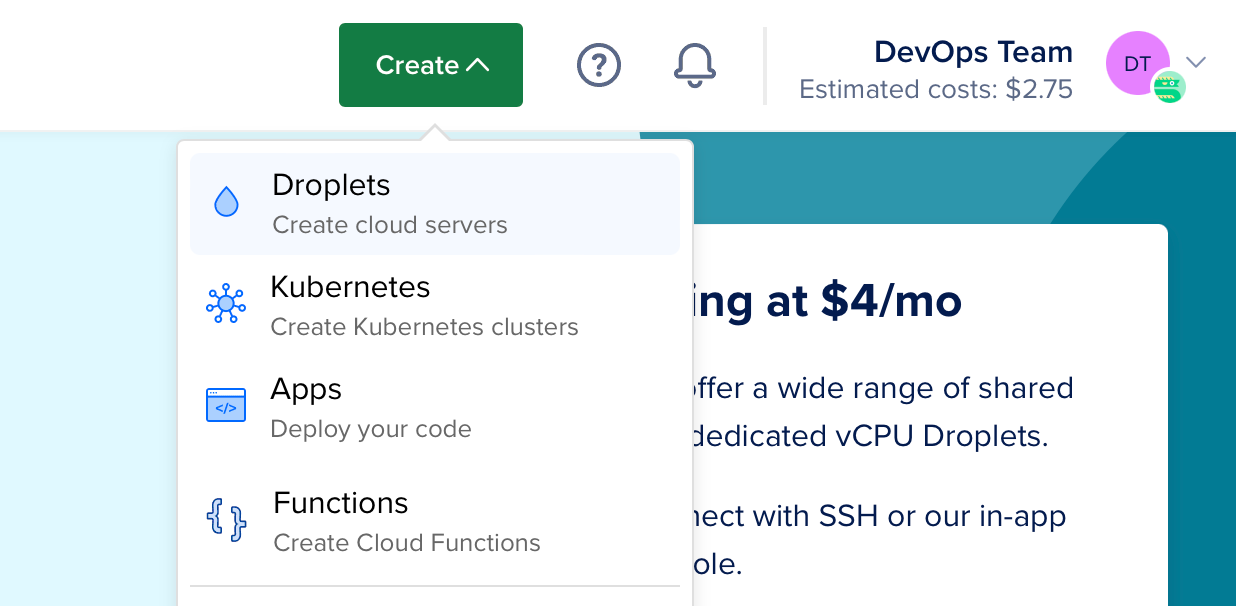
Let’s start by installing Swift on a Linux server. Use the create menu to create a new Droplet.
Under distributions, select Ubuntu 22.04 LTS. The following guide will use this version as an example.
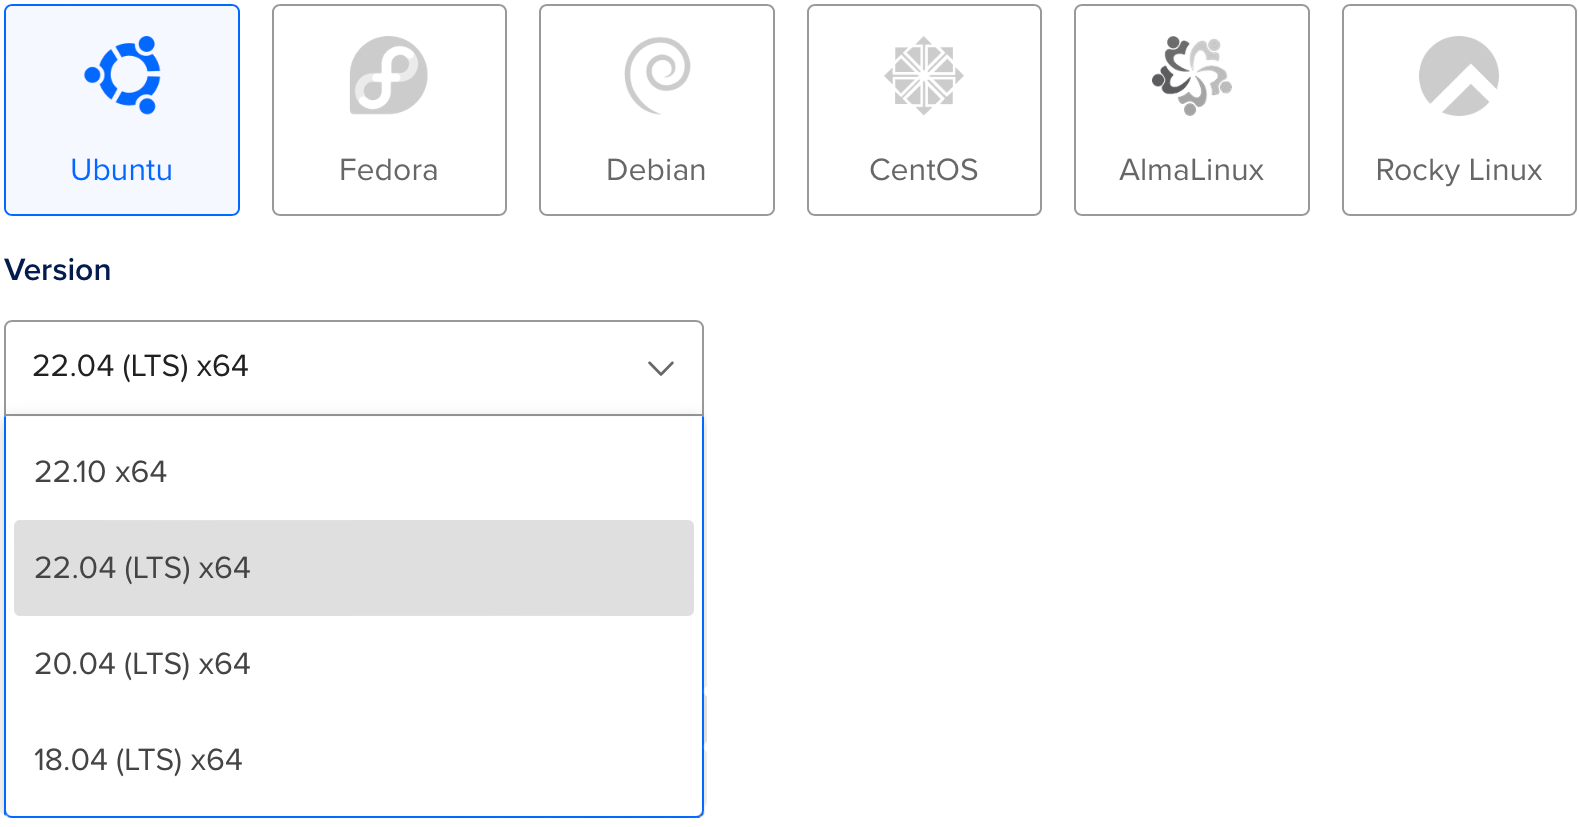
Note
You may select any Linux distribution with a version that Swift supports. You can check which operating systems are officially supported on the Swift Releases page.
After selecting the distribution, choose any plan and datacenter region you prefer. Then setup an SSH key to access the server after it is created. Finally, click create Droplet and wait for the new server to spin up.
Once the new server is ready, hover over the Droplet’s IP address and click copy.

Initial Setup#
Open your terminal and connect to the server as root using SSH.
ssh root@your_server_ip
DigitalOcean has an in-depth guide for initial server setup on Ubuntu 22.04. This guide will quickly cover the basics.
Configure Firewall#
Allow OpenSSH through the firewall and enable it.
ufw allow OpenSSH
ufw enable
Add User#
Create a new user besides root. This guide calls the new user vapor.
adduser vapor
Allow the newly created user to use sudo.
usermod -aG sudo vapor
Copy the root user’s authorized SSH keys to the newly created user. This will allow you to SSH in as the new user.
rsync --archive --chown=vapor:vapor ~/.ssh /home/vapor
Finally, exit the current SSH session and login as the newly created user.
exit
ssh vapor@your_server_ip
Install Swift#
Now that you’ve created a new Ubuntu server and logged in as a non-root user you can install Swift.
Automated installation using Swiftly CLI tool (recommended)#
Visit the Swiftly website for instructions on how to install Swiftly and Swift on Linux. After that, install Swift with the following command:
Basic usage#
$ swiftly install latest

Fetching the latest stable Swift release...
Installing Swift 5.9.1
Downloaded 488.5 MiB of 488.5 MiB
Extracting toolchain...
Swift 5.9.1 installed successfully!

$ swift --version

Swift version 5.9.1 (swift-5.9.1-RELEASE)
Target: x86_64-unknown-linux-gnu
Install Vapor Using the Vapor Toolbox#
Now that Swift is installed, let’s install Vapor using the Vapor Toolbox. You will need to build the toolbox from source. View the toolbox’s releases on GitHub to find the latest version. In this example, we are using 18.6.0.
Clone and Build Vapor#
Clone the Vapor Toolbox repository.
git clone https://github.com/vapor/toolbox.git
Checkout the latest release.
cd toolbox
git checkout 18.6.0
Build Vapor and move the binary into your path.
swift build -c release --disable-sandbox --enable-test-discovery
sudo mv .build/release/vapor /usr/local/bin
Create a Vapor Project#
Use the Toolbox’s new project command to initiate a project.
vapor new HelloWorld -n
Tip
The -n flag gives you a bare bones template by automatically answering no to all questions.

Once the command finishes, change into the newly created folder:
cd HelloWorld
Open HTTP Port#
In order to access Vapor on your server, open an HTTP port.
sudo ufw allow 8080
Run#
Now that Vapor is setup and we have an open port, let’s run it.
swift run App serve --hostname 0.0.0.0 --port 8080
Visit your server’s IP via browser or local terminal and you should see “It works!”. The IP address is 134.122.126.139 in this example.
$ curl http://134.122.126.139:8080
It works!
Back on your server, you should see logs for the test request.
[ NOTICE ] Server starting on http://0.0.0.0:8080
[ INFO ] GET /
Use CTRL+C to quit the server. It may take a second to shutdown.
Congratulations on getting your Vapor app running on a DigitalOcean Droplet!
Next Steps#
The rest of this guide points to additional resources to improve your deployment.
Supervisor#
Supervisor is a process control system that can run and monitor your Vapor executable. With supervisor setup, your app can automatically start when the server boots and be restarted in case it crashes. Learn more about Supervisor.
Nginx#
Nginx is an extremely fast, battle tested, and easy-to-configure HTTP server and proxy. While Vapor supports directly serving HTTP requests, proxying behind Nginx can provide increased performance, security, and ease-of-use. Learn more about Nginx.