# Install on macOS
To use Vapor on macOS, you just need to have Xcode 9.3 or greater installed.
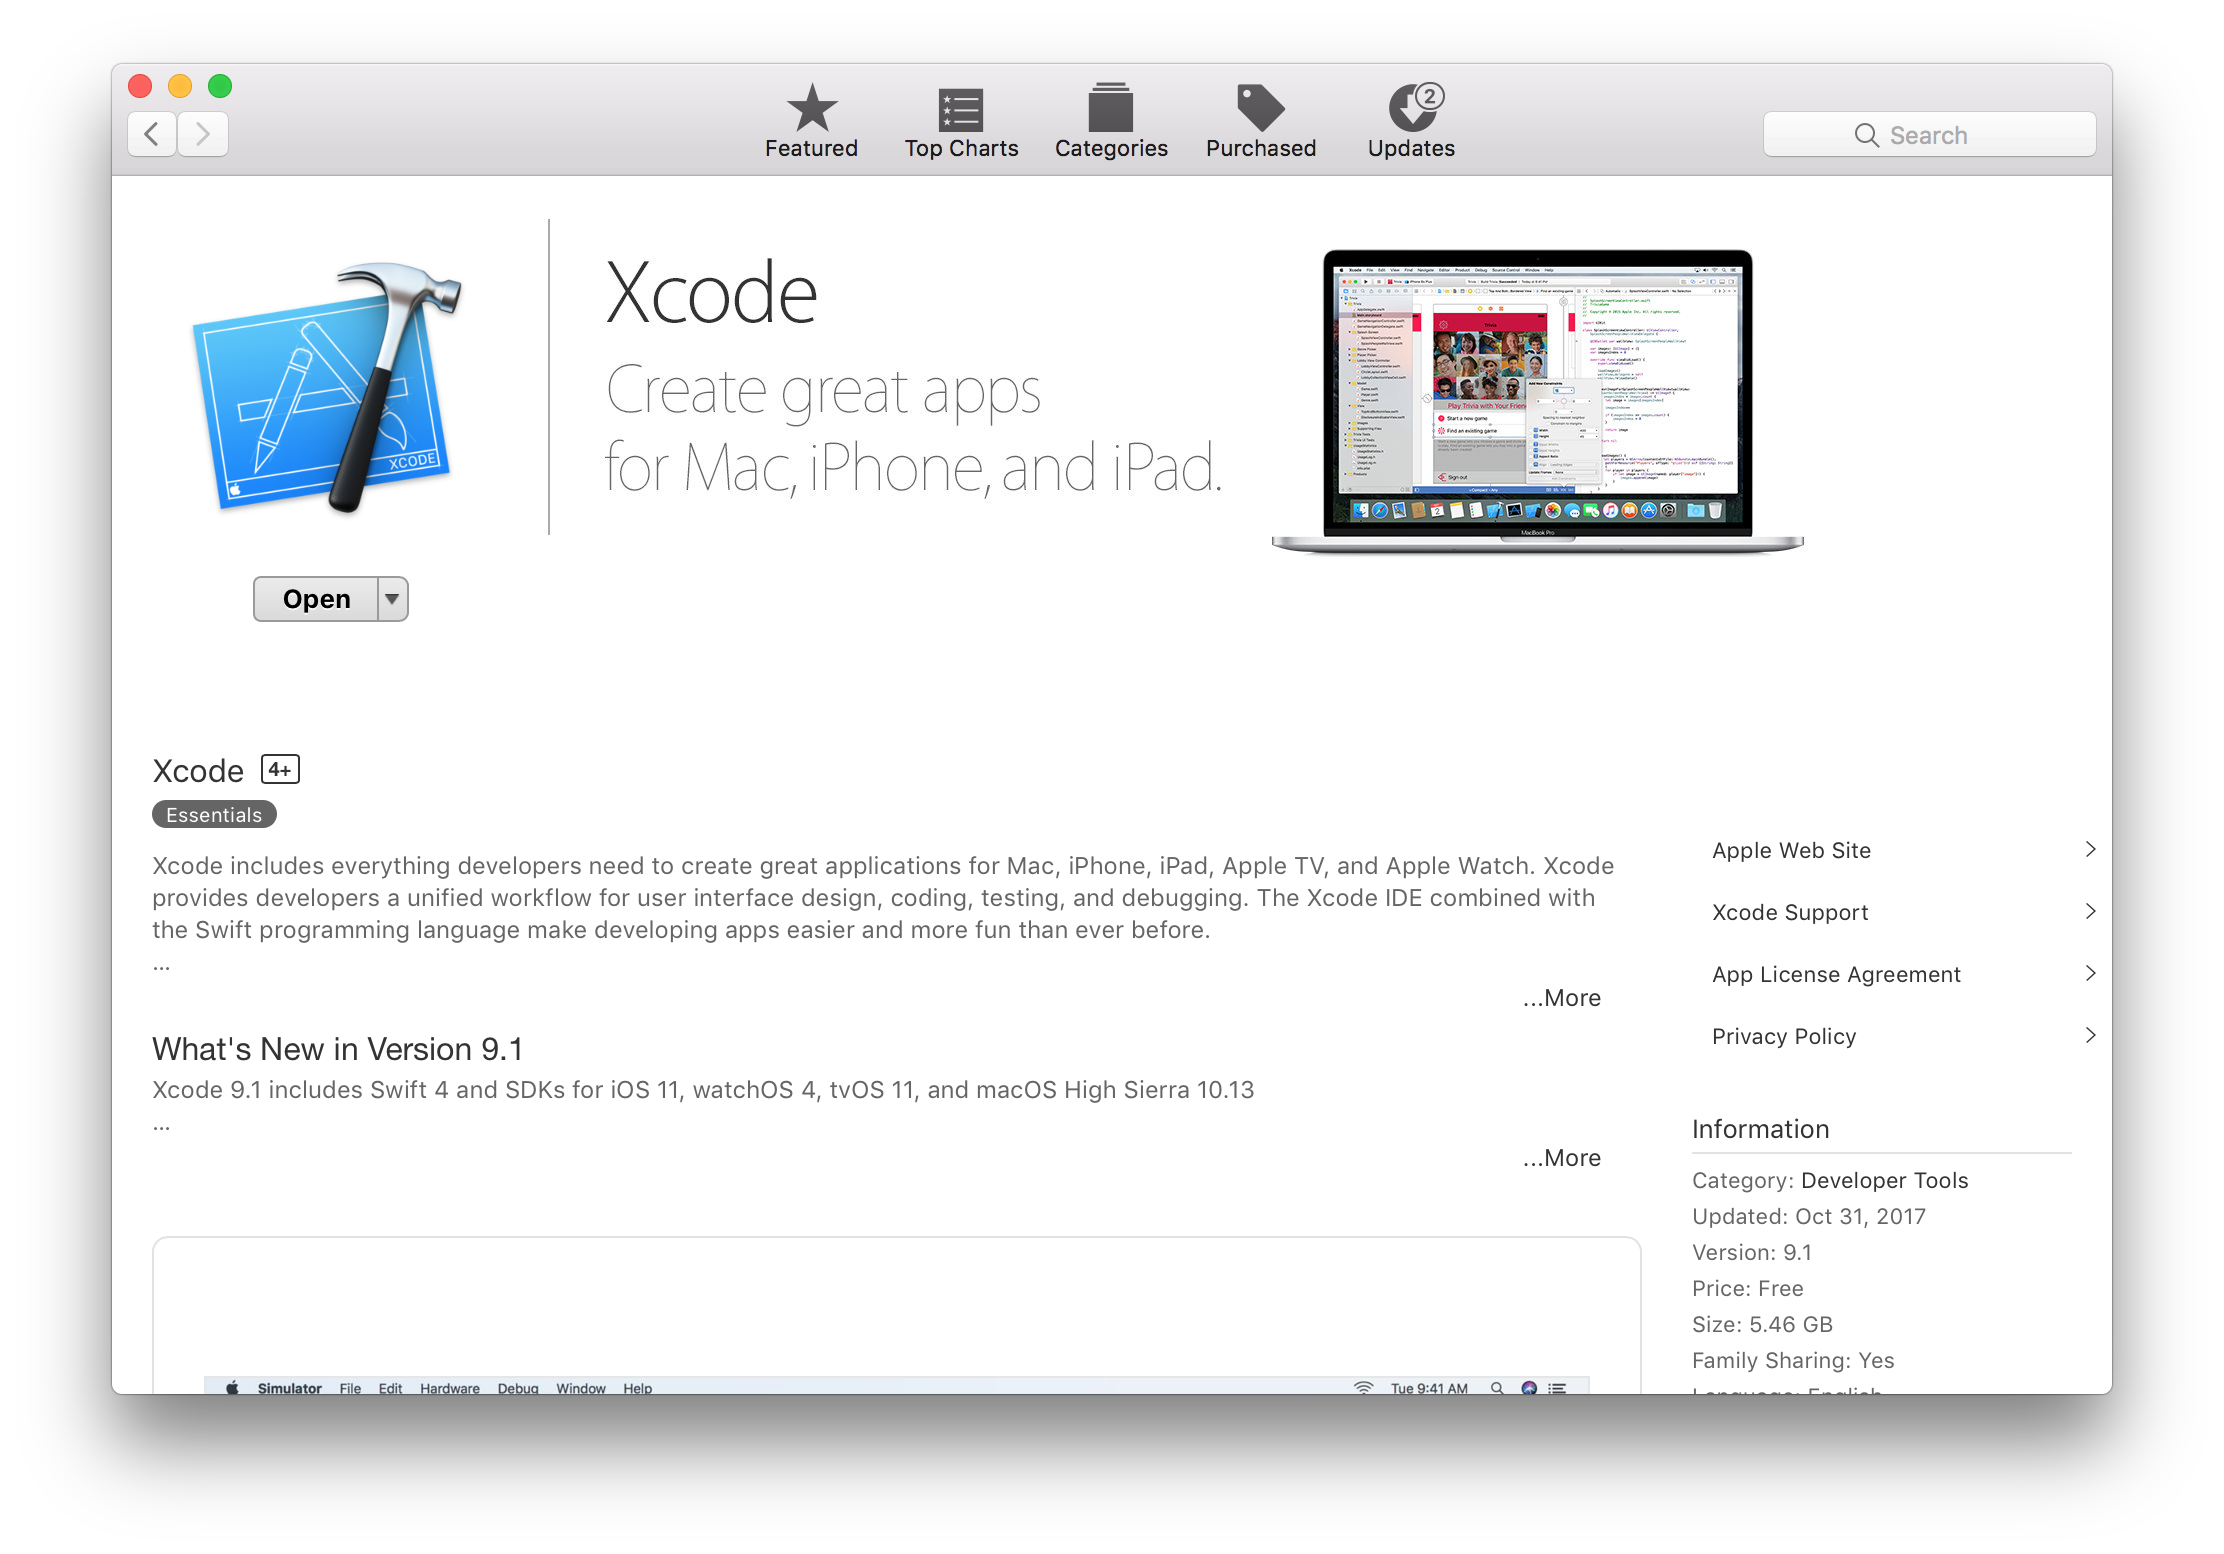
## Install Xcode
Install [Xcode 9.3 or greater](https://itunes.apple.com/us/app/xcode/id497799835?mt=12) from the Mac App Store.
 !!! warning
After Xcode has been downloaded, you must open it to finish the installation. This may take a while.
### Verify Installation
Double check the installation was successful by opening Terminal and running:
```sh
swift --version
```
You should see output similar to:
```sh
Apple Swift version 4.1.0 (swiftlang-900.0.69.2 clang-900.0.38)
Target: x86_64-apple-macosx10.9
```
Vapor requires Swift 4.1 or greater.
## Install Vapor
Now that you have Swift 4.1, let's install the [Vapor Toolbox](../getting-started/toolbox.md).
The toolbox includes all of Vapor's dependencies as well as a handy CLI tool for creating new projects.
```sh
brew tap vapor/tap
brew install vapor/tap/vapor
```
!!! tip
If you don't already have Homebrew installed, install it at brew.sh →
### Verify Installation
Double check the installation was successful by opening Terminal and running:
```sh
vapor --help
```
You should see a long list of available commands.
## Done
Now that you have installed Vapor, create your first app in [Getting Started → Hello, world](../getting-started/hello-world.md).
!!! warning
After Xcode has been downloaded, you must open it to finish the installation. This may take a while.
### Verify Installation
Double check the installation was successful by opening Terminal and running:
```sh
swift --version
```
You should see output similar to:
```sh
Apple Swift version 4.1.0 (swiftlang-900.0.69.2 clang-900.0.38)
Target: x86_64-apple-macosx10.9
```
Vapor requires Swift 4.1 or greater.
## Install Vapor
Now that you have Swift 4.1, let's install the [Vapor Toolbox](../getting-started/toolbox.md).
The toolbox includes all of Vapor's dependencies as well as a handy CLI tool for creating new projects.
```sh
brew tap vapor/tap
brew install vapor/tap/vapor
```
!!! tip
If you don't already have Homebrew installed, install it at brew.sh →
### Verify Installation
Double check the installation was successful by opening Terminal and running:
```sh
vapor --help
```
You should see a long list of available commands.
## Done
Now that you have installed Vapor, create your first app in [Getting Started → Hello, world](../getting-started/hello-world.md).